How to Install Dashboard Hub for Bitbucket
Learn how to install Dashboard Hub for Bitbucket
Overview
Just a simple explanation about how to install Dashboard Hub for Bitbucket. This is not the kind of page you’d bookmark and open the Sunday morning with your coffee and the newspaper.
How to install in Server / Data Center
Log into your Bitbucket instance as an admin.
Click the gear for the administration section and click Find new apps.
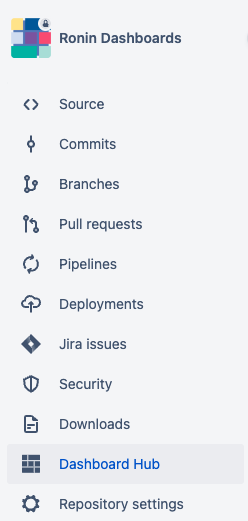
Locate Dashboard Hub for Bitbucket.
Click Free trial to download and install your app.
You're all set! Click Close in the Installed and ready to go dialog.
Alternatively, you can directly go to the Atlassian Marketplace and click in Free trial.
How to install in Cloud
What’s a workspace in Bitbucket? ref
A workspace is where you will create repositories, collaborate on your code, and organize different streams of work in your Bitbucket Cloud account.
www.bitbucket.org/<workspace name>/<repo name>
Navigate to the proper workspace. To find a particular workspace, click your profile avatar > click on the workspace listed under the Recent workspaces, or click All workspaces to display an entire list from which you can choose.
Click Settings on the left sidebar.
Click Marketplace under Apps and features on the left side menu.
Pick Dashboard Hub for Bitbucket and click Add. Make sure you do not choose the Dashboard Hub Connector for Bitbucket, since the connector is only meant to connect from other instances (learn more about Connector apps).
Review the access permissions the app is requesting and click Grant access if you approve.